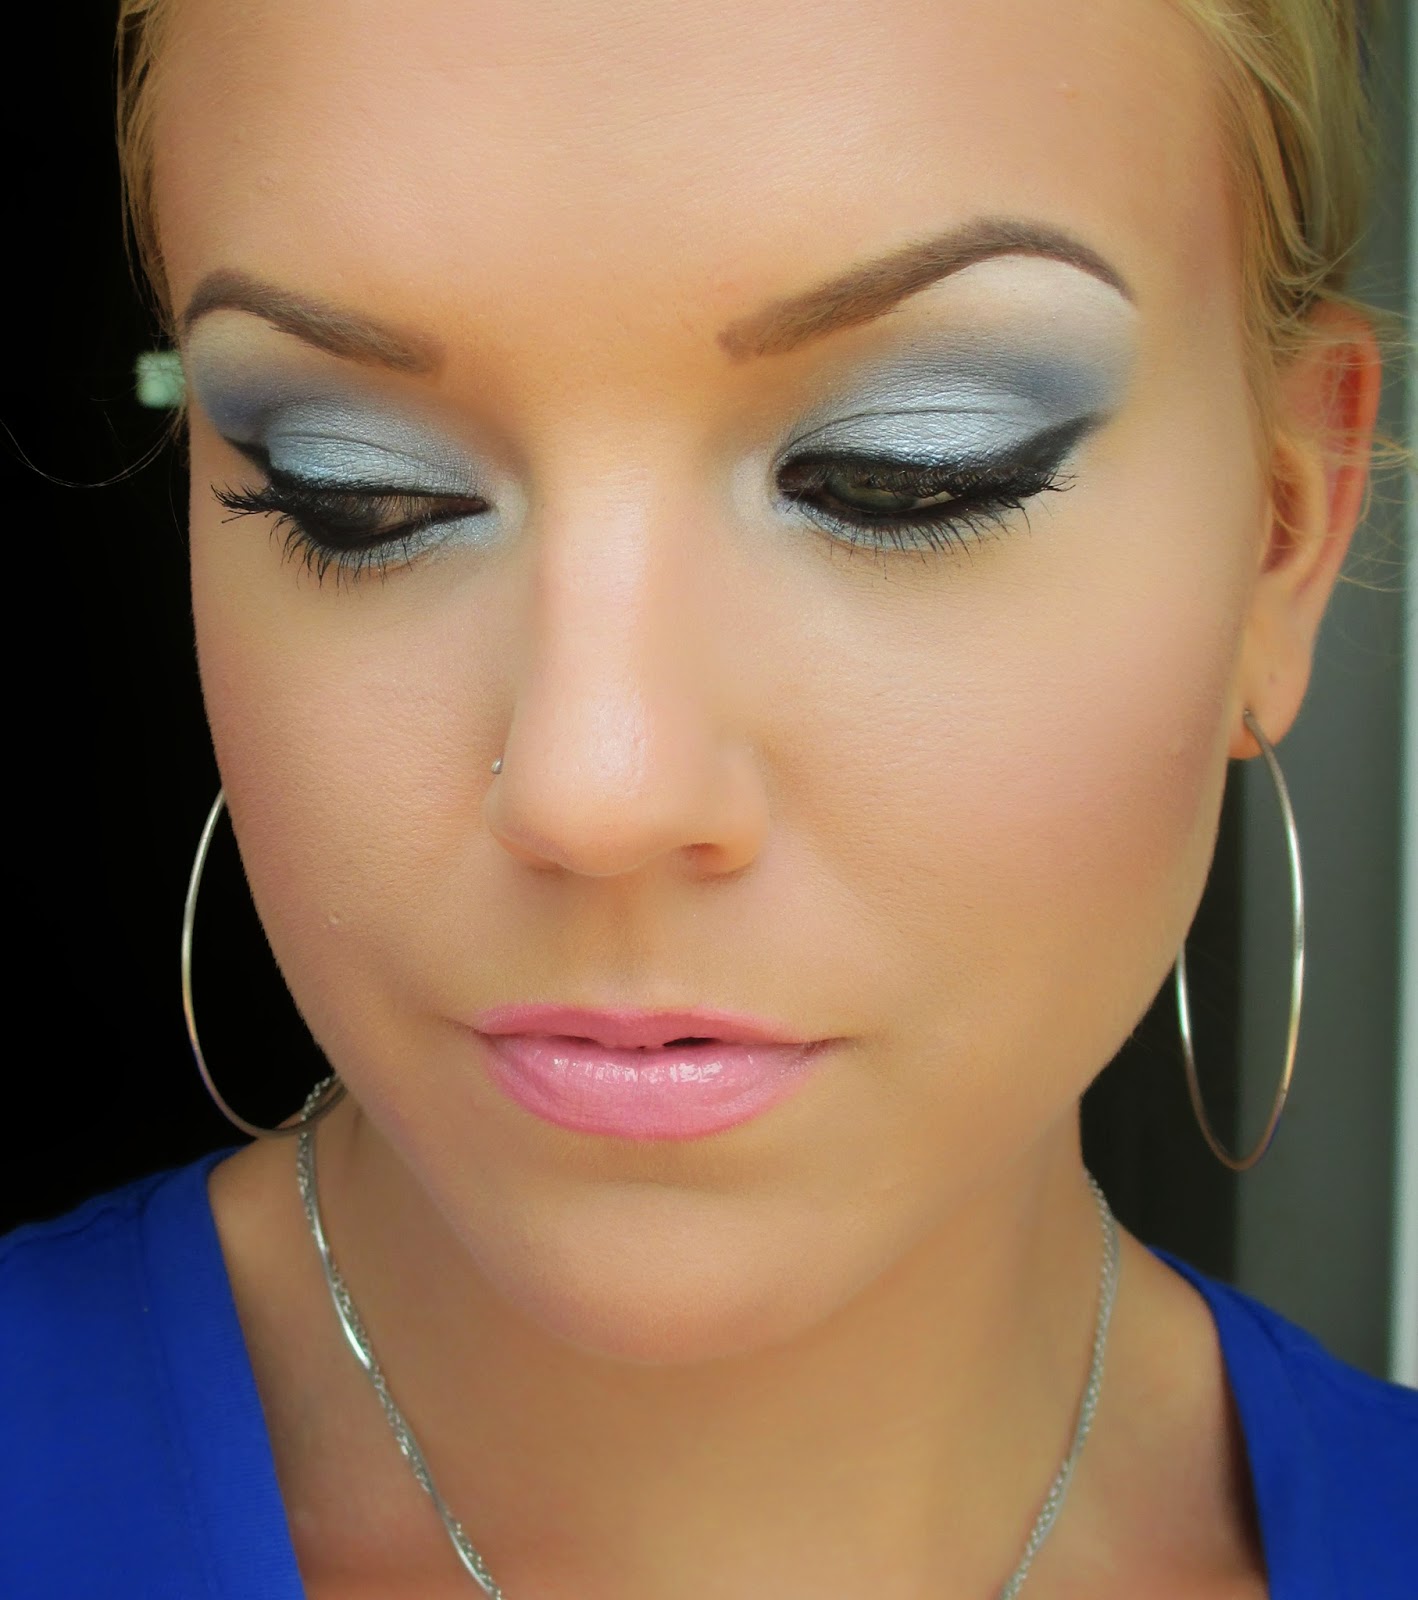
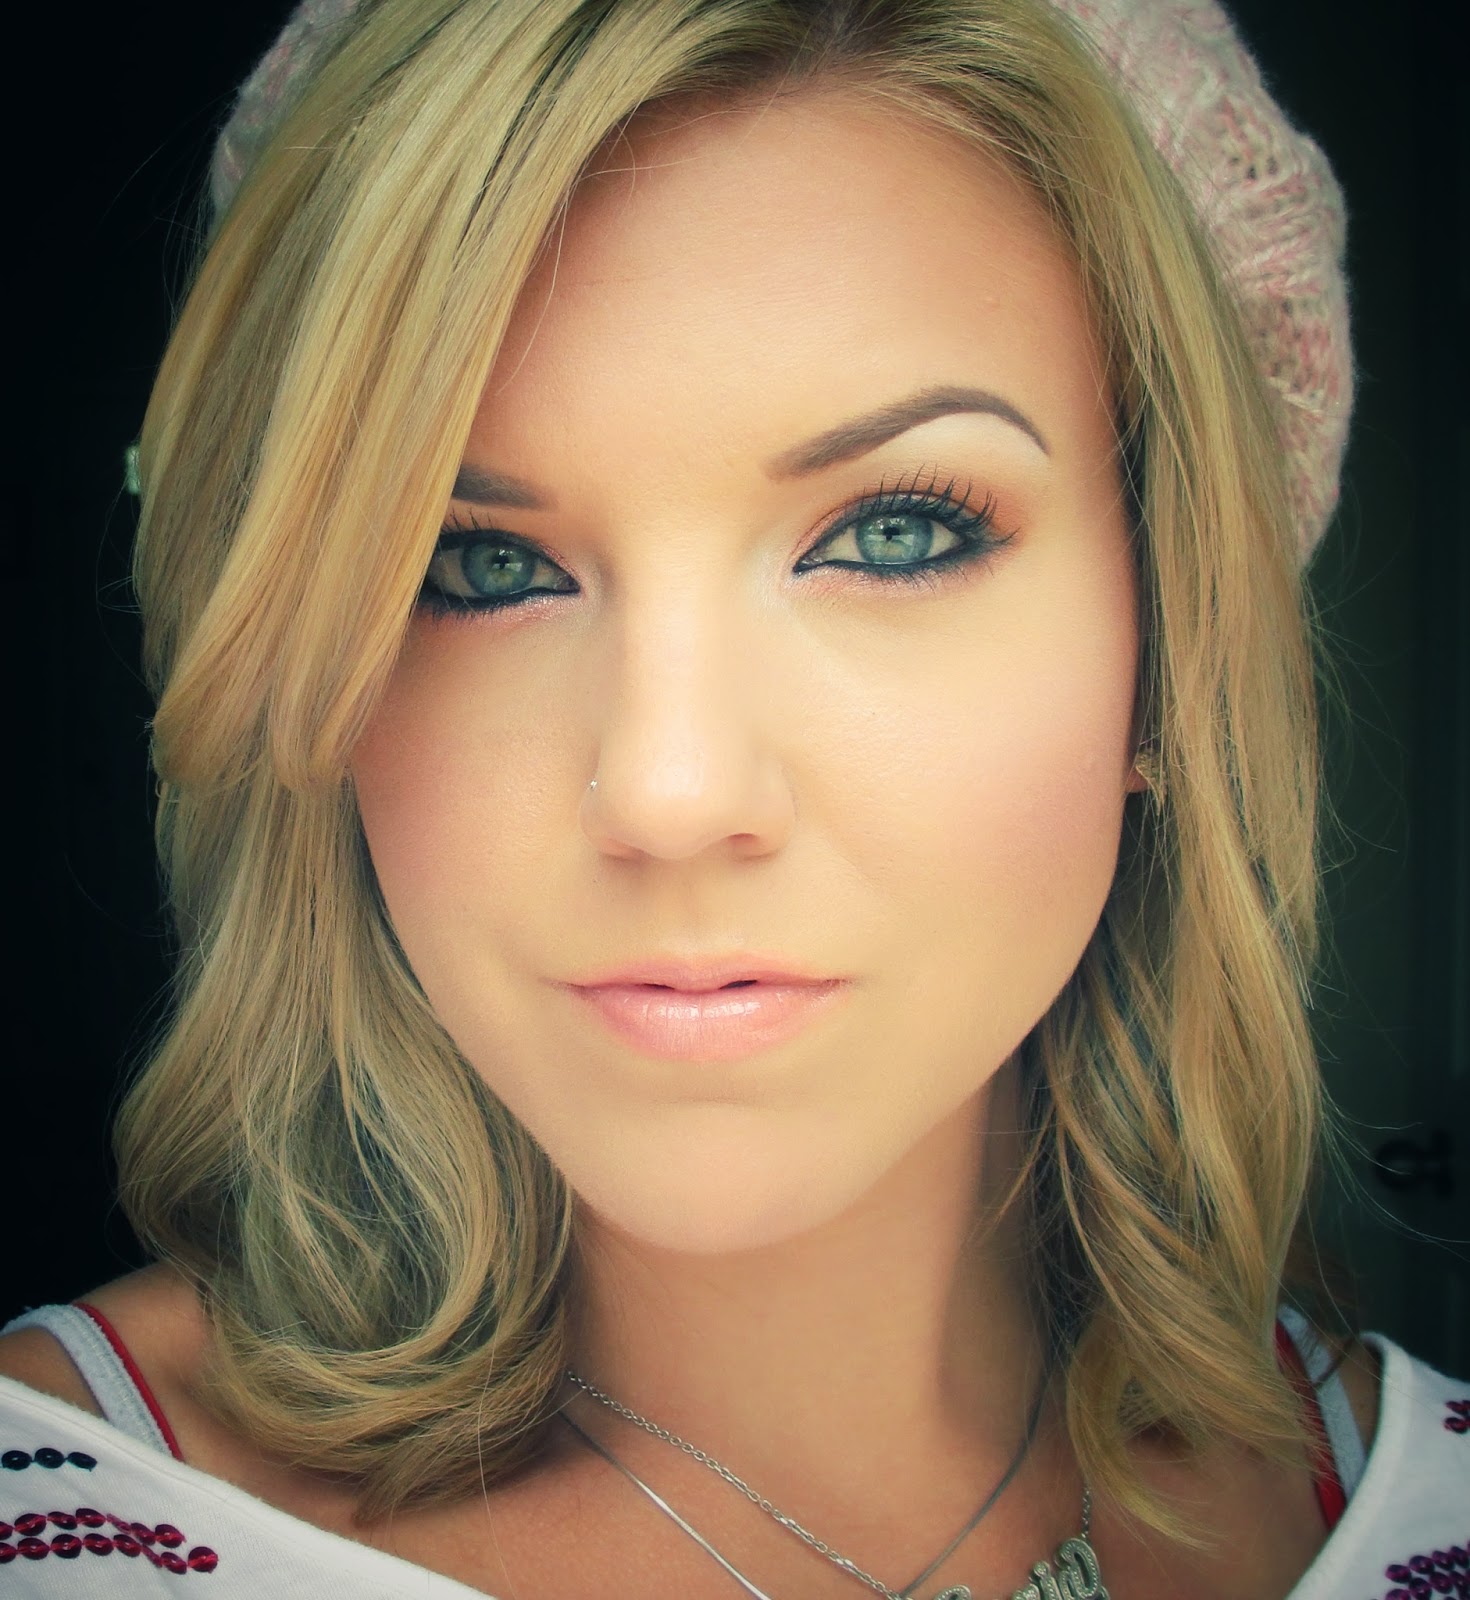
Followers

Tuesday, November 12, 2013

Smokey eye how-to (with pictures)!

I've been asked what process I use to achieve a smokey eye so I decided it'd be easiest to show you.  So I did a picture tutorial.  Here's the look we're going to achieve today:


Now, how to do it:

1. Prime eyelid, I used Too Faced Shadow Insurance.  I have also already chosen to line the inner rims of my eyes, both top and bottom, with a black gel liner, I used "Immortal" from Makeup Geek.

2. For good smokey eyes, you'll want to use a base of some sort to add some extra depth to your shadow, I usually use NYX Jumbo Eye Pencil in "Black Bean".  Since I'm doing a blue look, I used a blue gel liner, "Electric" from Makeup Geek.  I took this under my eye as well.

3. Top base with your darkest color.  I used MAC's "Sea & Sky" mineralized eyeshadow duo, the darker color of the two.  I made sure that I took this color high enough that you could still just barely see it when I opened my eyes (I have hooded eyelids).

4. Take a mid-toned blending color and place along the edge of your dark color.  I used "Purely Naked" from Makeup Geek.

5.  Blend the colors together, trying to create an almost seamless fade from one color to the other.  You will probably have to go back and add more blue, then more tan, then more blue, and so forth to get the blending right.

6. To make my highlight color stand out more and clean up the line of my brow, I add NYX Jumbo Eye Pencil in "Milk" (which I have melted into a little pot and apply with a concealer brush) under my brow.

7. Add highlight color on top of the white base.  I chose "Bling" from Makeup Geek.

8. Go back with the tan color and blend that up into your highlight color, again trying to crease a seamless fade.

9. With my eye shape, I need a bit of depth in the outer v area so I added some black ("Corrupt" from Makeup Geek).

10. Blend that well and add some liner.  I chose Motives Luxe Precision Eye line in "Jet Black."

11. Add mascara.  I used Benefit "They're Real" mascara.  This would be way better if I had felt like going the extra mile and adding false lashes!!

12.  Now it's time to clean up around your eye.  Brush off and fallout and clean up under your eyes.  On top of brows use a slightly too-light concealer to help highlight the area.

13. Blend that out and set with a translucent powder.

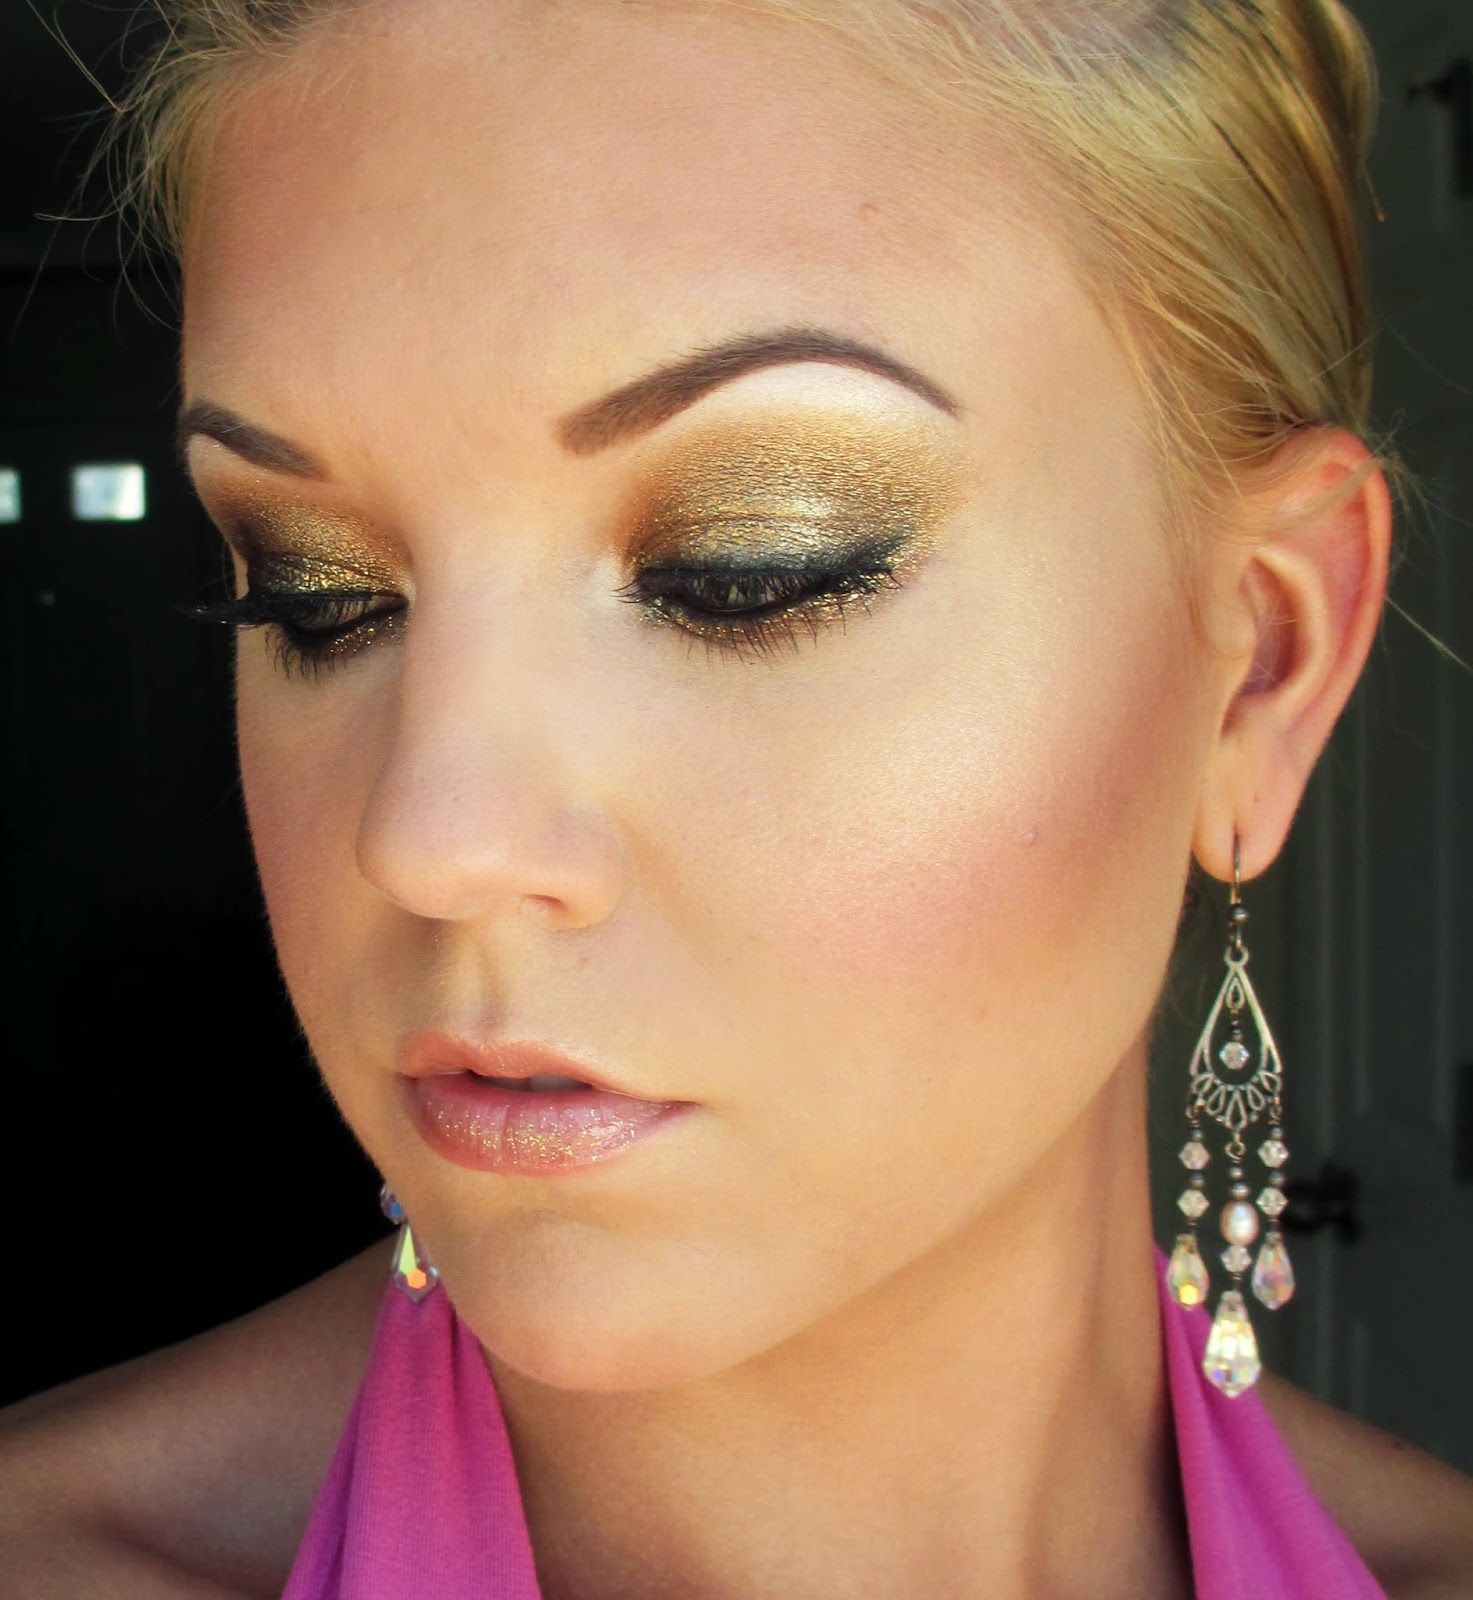
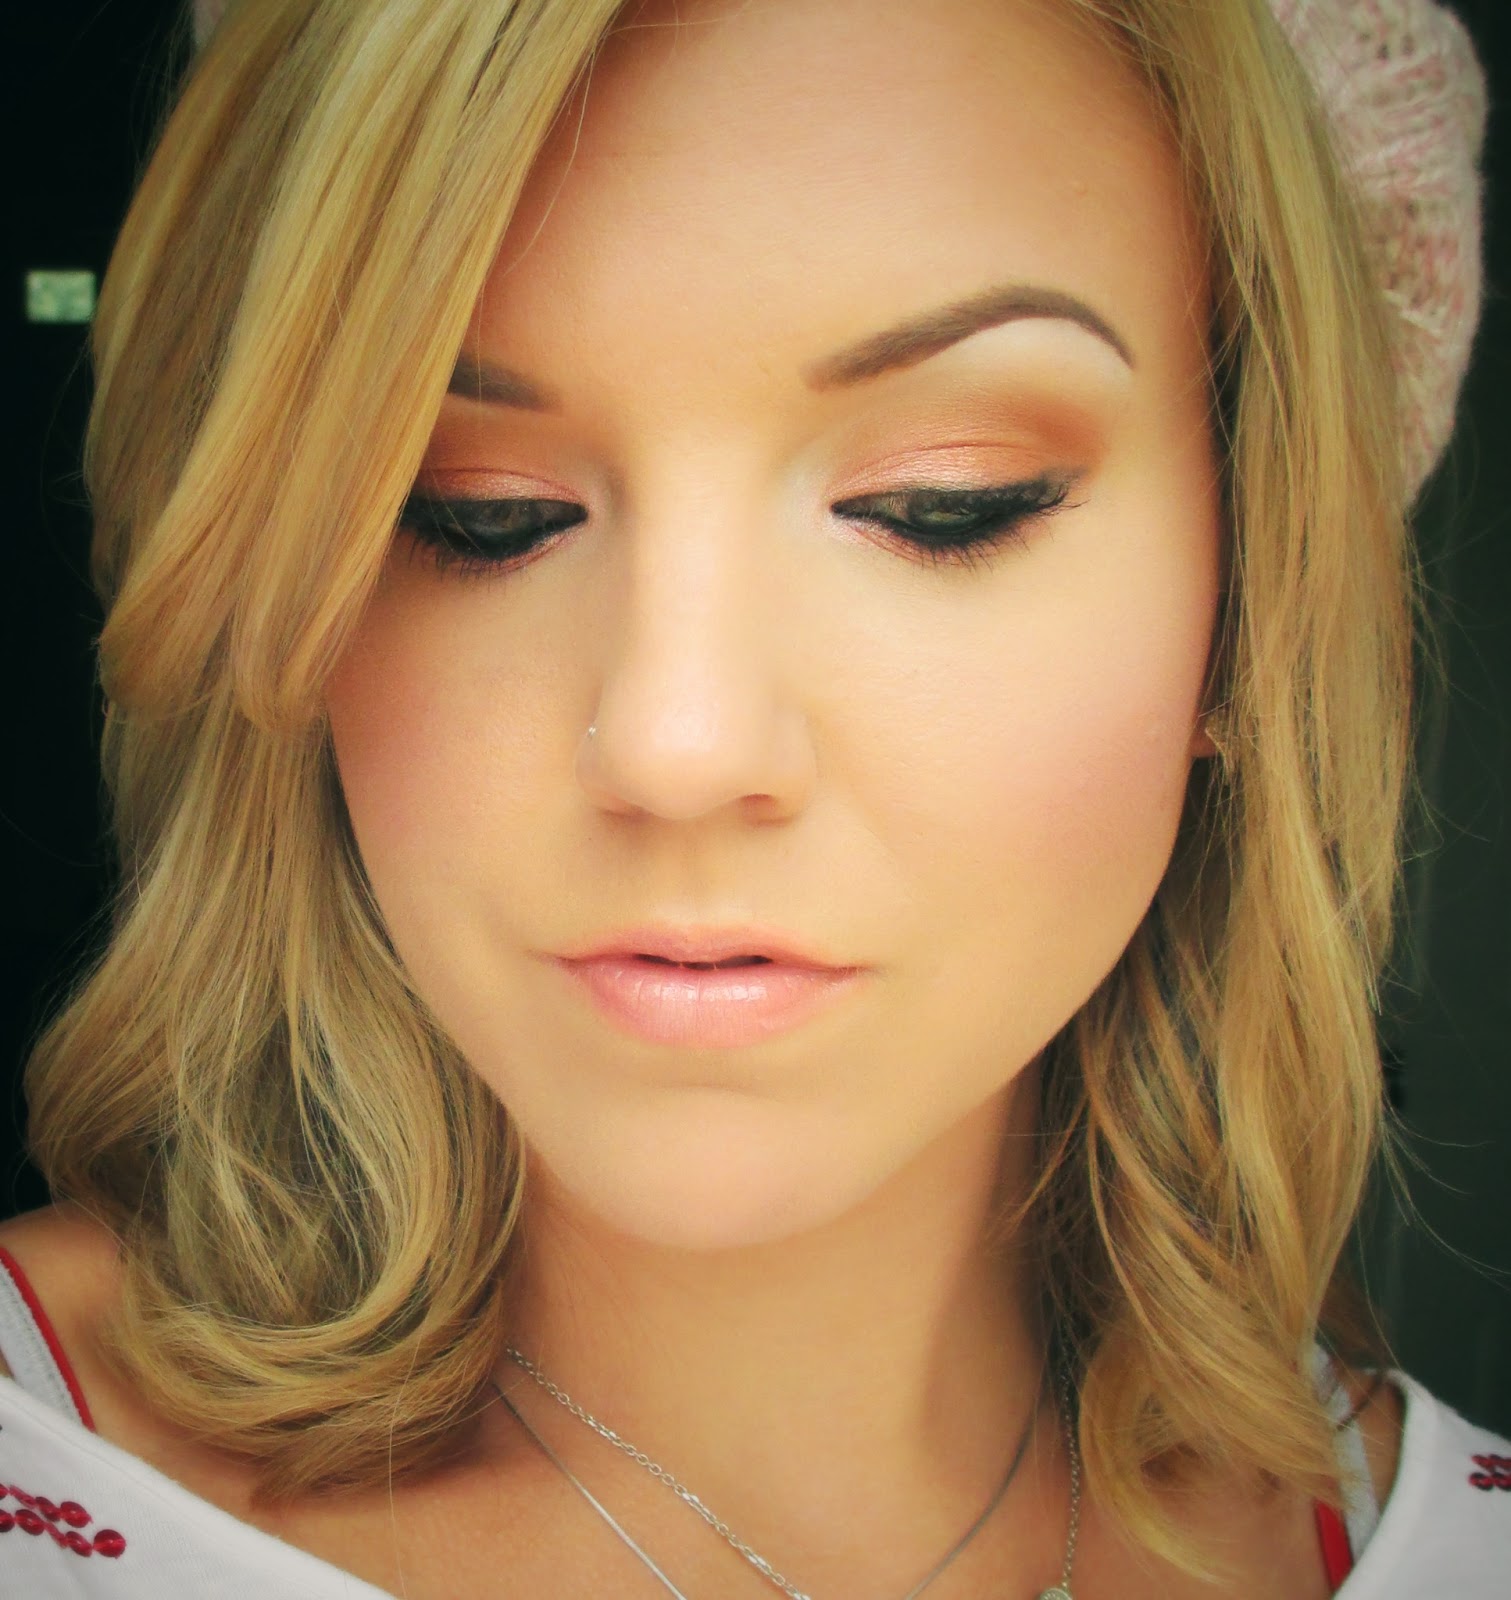
Add simple face makeup and a nude lip and you're good to go!

Face makeup:
Revlon Colorstay for oily/combo skin "Sand Beige"
Maybelline Fit Me concealer
Maybelline Dark Circle Eraser "Fair"
Ben Nye Translucent Fair setting powder
Benefit "Coralista" blush
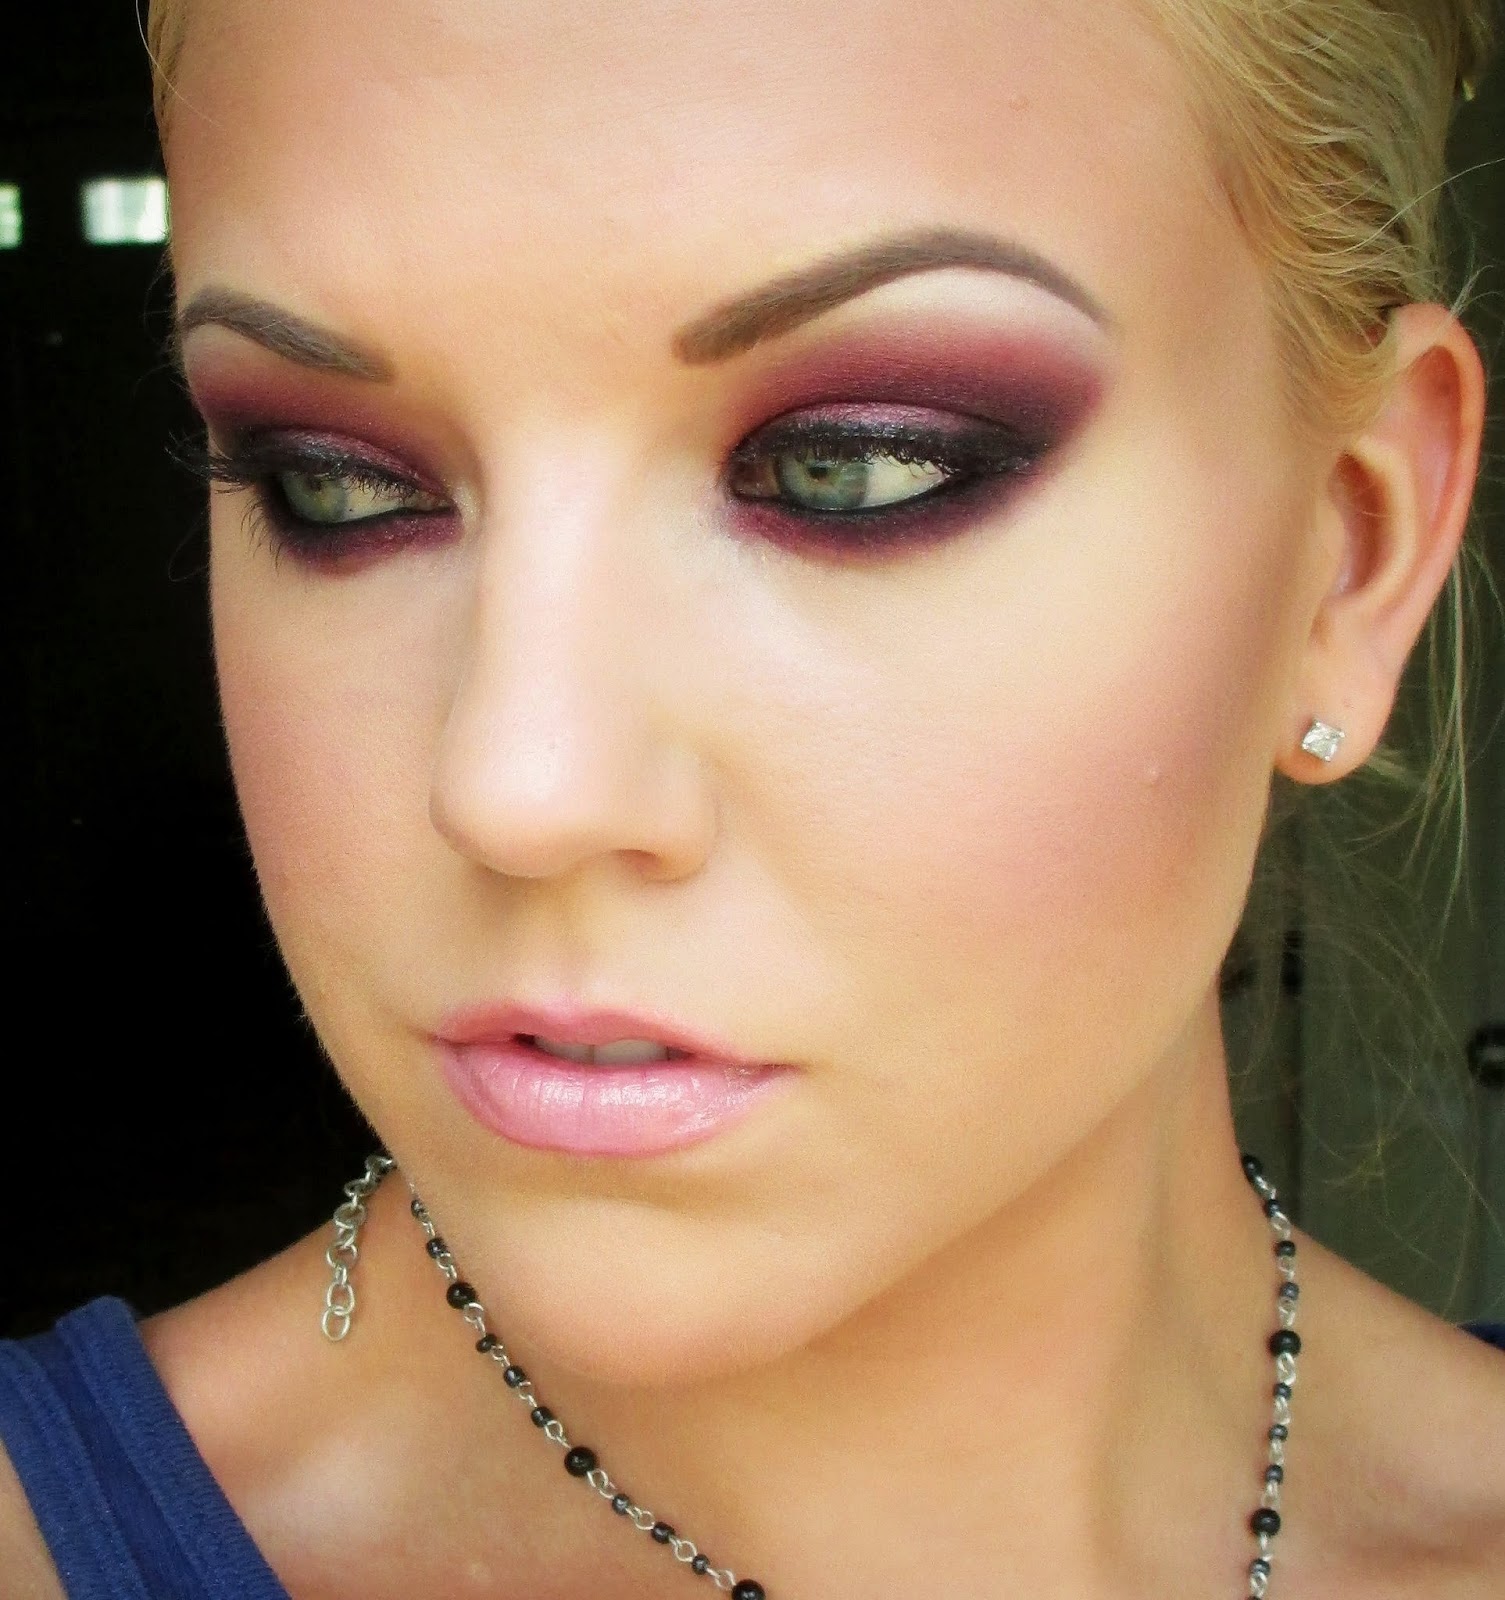
Brows:
Rimmel brow pencil
Anastasia Beverly Hills brow powder duo "Taupe"
ELF Studio cream liner "Coffee"

Lips:
NYX "Natural" lipliner
NYX "Harmonica" lipstick (this color is seriously horrible unless you use a liner and top it with a gloss!!)
Buxom lipgloss "Debbie"

And then I put together this little picture tutorial with the highlights if you want to see it all together!

I hope this was at least kind of helpful!!

Friday, September 27, 2013

September Cancer Awareness!

Ok, so I had this brilliant idea to try to, each month, raise awareness for the cancers whose awareness month it is by doing makeup inspired by their ribbon colors.  I picked a difficult month to start this idea haha.  September has eight cancers whose awareness month it is.  That's crazy.  So I decided to do this on my blog facebook page (click here to check it out!) and ask you guys to also contribute.  I mean, I can't spread awareness all alone!!

So September is ovarian cancer, prostate cancer, thyroid cancer, leukemia, lymphoma, multiple myeloma, gynecological cancer, and childhood cancer awareness month.  So here are the looks:

Childhood cancer (gold):  This is so important to me because I wouldn't wish cancer on my worst enemy, let alone and innocent child.  If anyone in this world deserves cancer the least, it is a child.  We lose so many children each year to this horrible, horrible disease.  


Multiple Myeloma (burgundy): This cancer is important to me because it's what my grandmother died from.  It's a crazy cancer that attacks the plasma cells of blood and shows itself in really weird ways.  It affects kidneys and bones and other ways I'll never understand.


Leukemia (orange):  Leukemia is a cancer of the blood.  I have known quite a few people who have had leukemia.  This affects people of all ages.  My Uncle Brian had leukemia, he got an infection from having his immune system so suppressed from chemotherapy and that took his life.


Lymphoma (lime):  Lymphoma is a cancer that starts in the cells of your immune system, called lymphocytes.  My husband's coworker had a swollen lymphnode on his neck.  After some convincing, he went to the doctor about it, the doctor said it was an infection and gave him an antibiotic.  When the lump hadn't gone away, my husband convinced him he needed to get it looked at again (this was shortly after I was diagnosed).  So he did.  It was Hodgkin's lymphoma.  Luckily it was caught early and he's ok after chemotherapy and radiation.


Prostate Cancer (light blue):  Researching a little bit, I found out that prostate cancer is diagnosed in 80% of men who reach age 80.  That's insane!  It is the second leading cancer-related death in men in the United States.


Ovarian Cancer (teal):  There is no good screening for ovarian cancer, no preventative screening.  Women need to pay attention to their bodies and listen to any symptoms they may be showing.  Some possible symptoms include pelvic discomfort or pain, loss of appetite or feeling full quickly, changes in bowel or bladder habits, low back pain, etc.


Gynecological Cancer (peach):  This includes ovarian, uterine, cervical, vaginal, and vulvar cancers.  Women really need to be as proactive in screening for these as they are in screening for breast cancer.  These cancers are serious and they affect so many women each year!  Go for your pap-smear (I know, they suck!) every year because you owe it to yourself to make sure everything is good!


Thyroid cancer (teal, blue, and pink):  I have read that thyroid cancer doesn't always have symptoms so it can be really hard to find and diagnose.  Thyroid cancer starts with a thyroid nodule, most aren't cancerous, but they could be.  If you feel a lump in your neck, a swollen lymphnode, if you have a hoarse voice, difficulty swallowing or breathing, you should get it checked out.  There's no need to play around with something like that!


There is a lot of information out there about all of these cancers.  I have said it about a million times, but I will say it again.  If something is wrong in your body and you know it, go get it checked out.  Too often we put things off because "it'll get better" (I'm completely guilty of this).  Your life isn't worth risking!!

I did these looks to celebrate everyone who has been touched by any of these diseases and their loved ones.  I think all cancers are important and people need to learn about them!

Tuesday, July 23, 2013

How I do my eyebrows: A step-by-step picture tutorial.

I have been asked numerous times how I fill in my brows so I figured I'd do a step-by-step picture tutorial to show you what I do!  Brows make such a huge difference on a face, good brows make everything look clean and neat and finished.  Seriously, take a look.


So onto the tutorial!

What you will need:
1. A brow pencil (I use Anastasia Beverly Hills Perfect Brow Pencil)
2. A cream liner (I use ELF studio liner)
3. A brow powder, preferably a duo (I use Anastasia Beverly Hills Brow Powder Duo)

Extras you can use, which I like to:
A white, or very light, cream liner (I use NYX Jumbo Eye Pencil in "Milk")
Highlight color of your choosing

My brow with nothing on it

Fill brows in with pencil.

Here's what they look like when I've finished filling them in with the pencil.

Grab an angled liner brush and your cream liner

Follow the bottom of your brows with the cream liner, creating as much or as little of an arch as you want

After using cream liner (sorry it's fuzzy, apparently I didn't get a clear picture of this), you can see where I placed the liner

Grab a clean angled liner brush and your brow powder duo

Fill brows in completely, covering the pencil and cream, blending everything together.  I use the lighter color toward the inside of my brow and the darker color on the outside.

Once that's done

Now, you can stop there if you want, but to make it a little more crisp, I like to do this next step.

Grab a concealer brush and your NYX Jumbo Eye Pencil (which I have depotted)

Draw a line under your brow

Blend it out with your finger and add your highlight color.

You're all finished!!

I hope that helps someone out there with measly little brows like I have naturally!  I put this together, too as a place to have all of the steps in one picture if that's helpful!